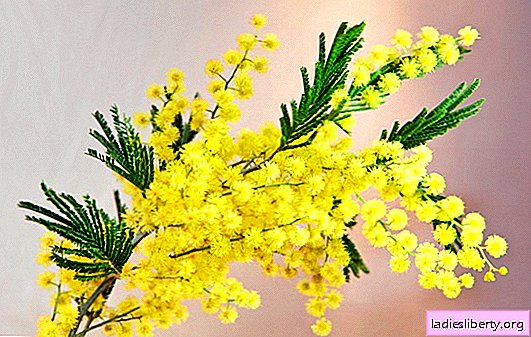
Among the first spring flowers, a special place is occupied by bright and fluffy branches of mimosa.
For many years they are a symbol of the beautiful holiday of March 8th.
What can you make a cute gift for mom or grandmother for Women's Day?
Many needlewomen have leftover yarn left in stock.
To do mimosa with your own hands from the remains of woolen threads, we need:
thick yellow woolen threads,
thin wire (you can use wire for beads - it comes in different colors, durable and flexible),
scissors,
glue for paper
green corrugated paper.
Threads can be taken in different shades of yellow, then the craft will look more natural. If you want the mimosa flowers to be large, then you can use ordinary scissors. To get small flowers, it is better to use manicure. For convenience, the wire can be pre-cut into pieces of 8-10 cm long. We cut corrugated paper into strips 1 cm wide.To make tight turns of wire and securely fasten the thread trimmers, we need pliers or pliers, but you can just use your fingers.
We attach a piece of wire to the side of the scissors and wind the yarn. For convenience, one end of the wire should be made about two times longer than the other. To make the mimosa flower, made by yourself, was lush enough and the wire was invisible, you must make at least 12-15 revolutions of the thread. Gently pull the coils of thread from the side of the scissors and begin to twist the wire. At the moment, you can use pliers or pliers, twisting the wire. But this must be done very carefully so as not to break off the tips. Next, gently squeezing the scissors, cut the yarn. We got such a shaggy blank on a thin wire.

Now it's the turn of corrugated paper. Screw it tightly onto the wire, starting from the head of the flower. We cut off the tip of the strip and glue it for reliability. It looks like tiny dandelions.

Our next task is to put together all the blanks. We put together two “dandelions” and fix them with a strip of green corrugated paper. For reliability, we coat the product with glue. Add the next part and fix it again with a paper strip. Gradually adding blanks, we collect a sprig of mimosa with our own hands.

Your fantasy will tell you how many branches there will be in the bouquet and how to make the leaves.
Bright do-it-yourself mimosa twigs made of paper
Plain paper gives the widest scope for creativity. There are a wide variety of paper-plastics techniques. For example, a fairly new ramping technique. Applications made in this way develop fine motor skills and imagination. Pictures and postcards are bright, voluminous.
Prepare color or white cardboard, which will serve as the basis for postcards, pencil and scissors, corrugated paper in yellow and green and any glue for paper.
On the cardboard we draw the contour of the future flower. In our country this is a sprig of mimosa. The yellow corrugated paper is cut first into strips 1 cm wide, and then into squares with sides of about 1 x 1 cm. We cut green paper into 1 cm strips.If you want, instead of corrugated paper, you can use ordinary napkins, but they should be quite thick. Now we begin to form the trunk and branches: we roll dense sausages from green stripes. Cut the workpiece of the required length and glue along the contour of the barrel. To make it thicker, you can fold two strips. We roll the next strip into thin sausages and glue along the contour of the twigs.

We crush the yellow squares and form balls from them. To give brightness and realism to a postcard, you can use paper of different colors. Glue the yellow balls around the branches, on the branches themselves and around. From green paper, cut out several leaves of arbitrary shape and glue on the applique. A charming bouquet of mimosa, made by yourself, is ready.

Another very interesting technique of paper plastic is quilling. This ancient art will help us create an original spectacular craft. You can purchase sets of special paper strips for quilling in the stationery store, or you can cut double-sided colored paper yourself into strips 3-5 mm wide. We also need a sheet of cardboard, which will serve as the basis for postcards, scissors and glue for paper.
Getting started with yellow paper. On the side of the strips we make notches to a depth of 2-3 mm at a distance of 3-4 mm from each other. We roll the strip into a tight roll and glue the tip. We choose strips of different lengths from 3 to 12 cm, because the flowers can be of different sizes. Slightly fluff the blank from the side of the notches and get a do-it-yourself mimosa flower. We make the required number of blanks of different sizes and different shades of yellow.

We make twigs of our future flower from brown paper strips. On the sides of the green stripes we make notches, as on the yellow ones, we only place them obliquely. These will be the leaves of our mimosa. Glue the twig and leaves to the cardboard base.
Now it's the turn of the flowers themselves. In random order, alternating blanks of different sizes and shades, place them on a postcard. Your imagination and imagination will tell you how to better arrange the flowers. Of course, they also need to be glued to the base. Bright and original postcard is ready. It can be a wonderful gift for mom or grandmother for the holiday on March 8.

Mimosa flowers, made by hand in various techniques from paper or other improvised materials, will be a wonderful sign of attention for your family and friends.